Photography
The Quality Corporate Photography
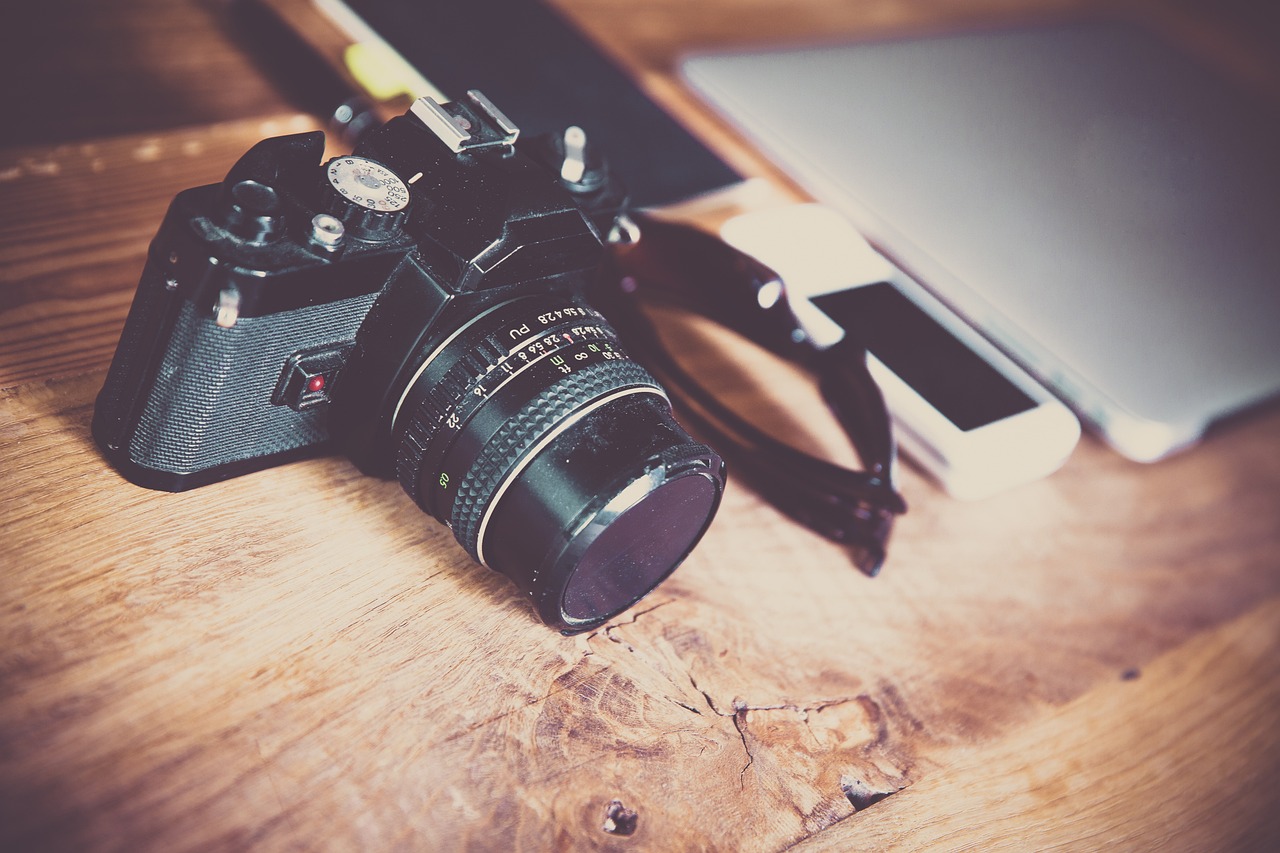
Good photography can make or break a business. That’s why it’s crucial to invest in quality corporate photography Los Angeles.
Good photography can make or break a business. That’s why it’s crucial to invest in quality corporate photography Los Angeles.

Weddings are supposed to be the happiest day of our lives. But, sometimes, all the hustle and bustle of planning

Capturing high-quality product photographs requires careful consideration of various elements, and one crucial aspect is the backdrop. The right backdrop

When it comes to showcasing your products, the power of visual presentation cannot be overstated. With the rise of e-commerce,

When eloping, couples often choose to have their photos taken in a beautiful and natural location. If you’re looking to

Are you thinking of New Zealand elopement? If so, you’re in for a treat! This breathtaking country is home to
Looking for a photography studio to hire in Brisbane? Let’s discuss everything you need to know about photography studio hire

Are you considering boudoir photography in Chicago? If so, you’re in for a treat! Boudoir photography is all about celebrating

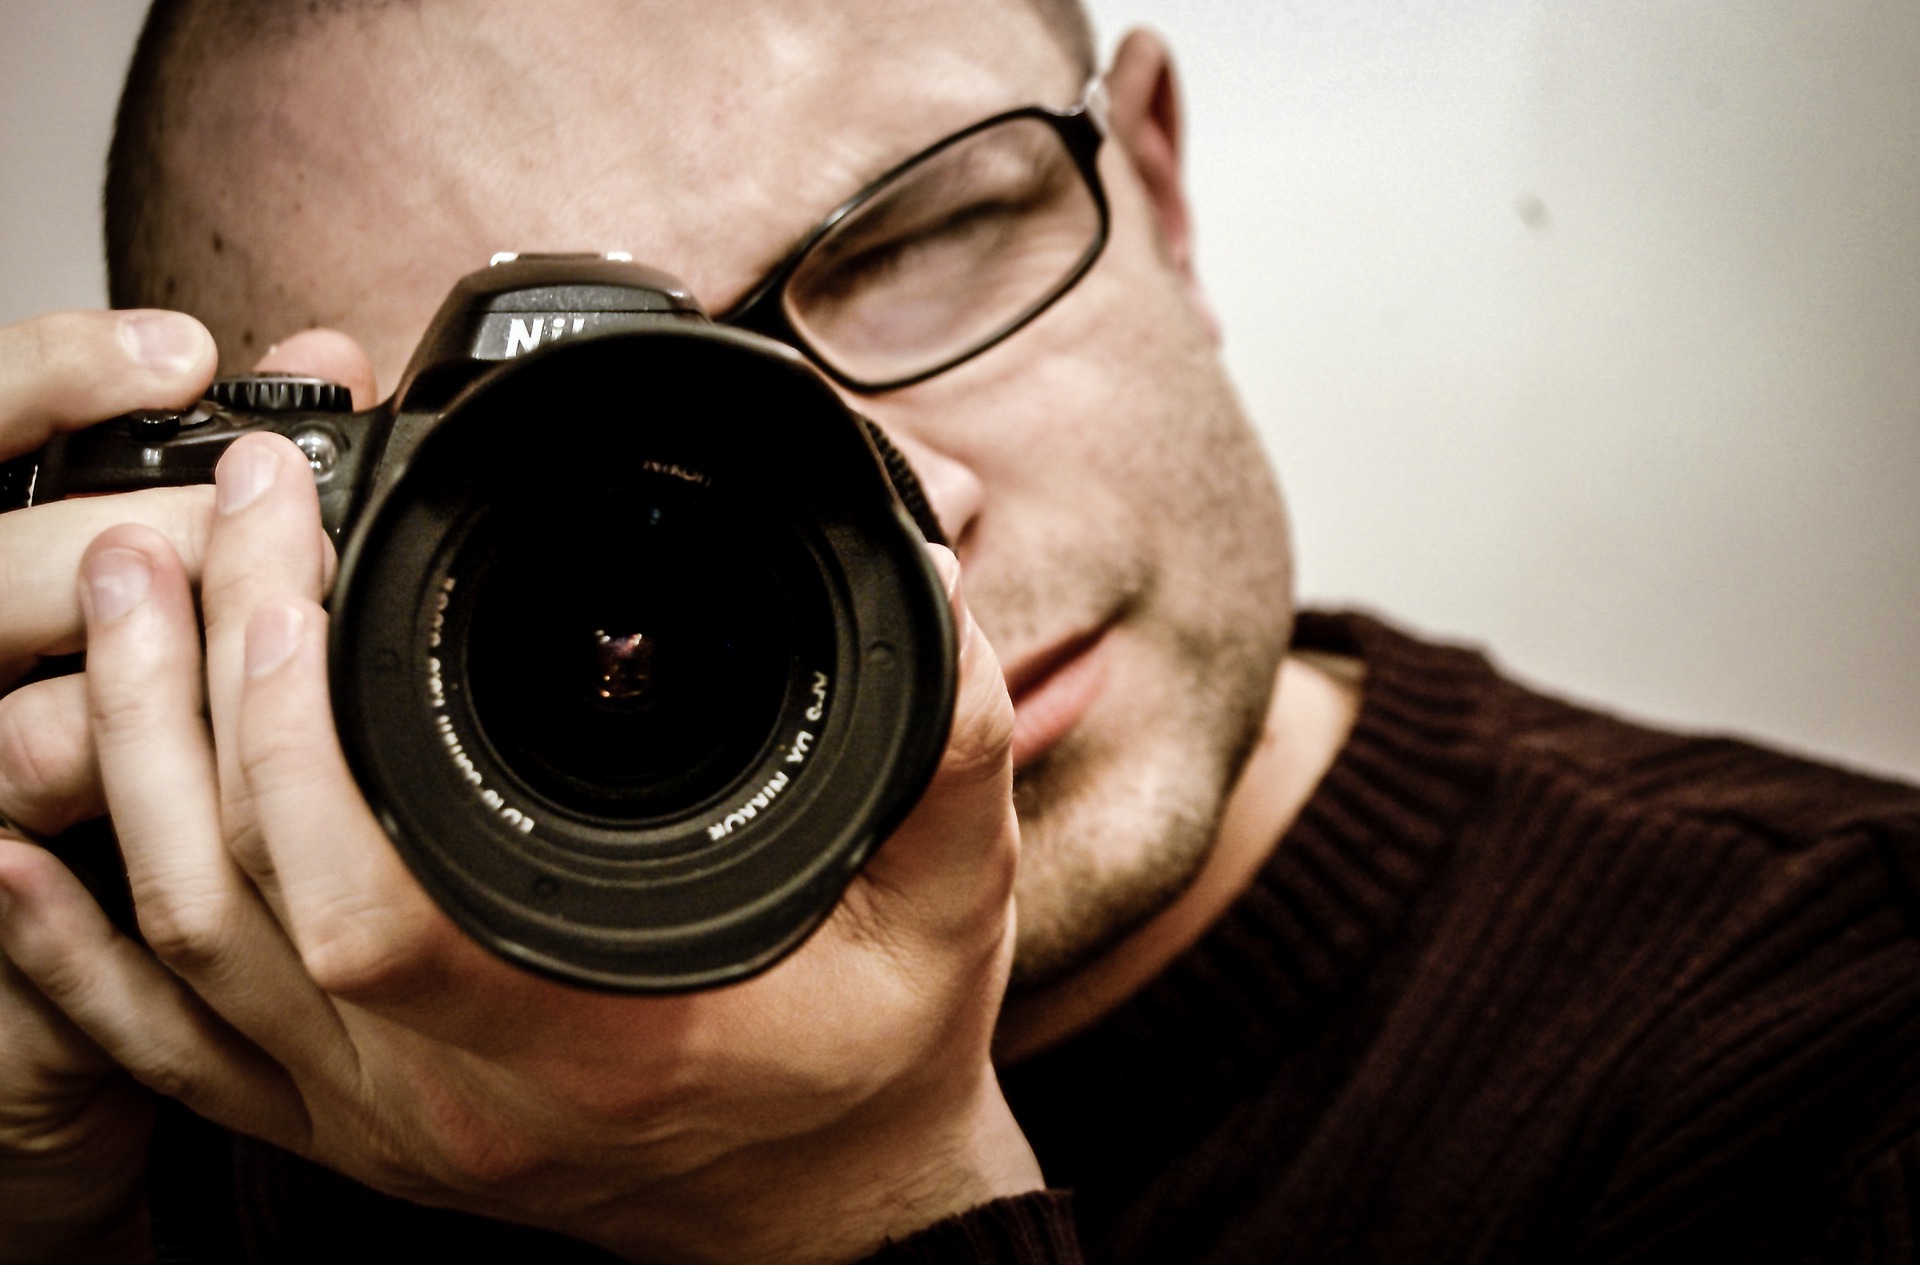
The first step in planning a baby first photo shoot is to find a photographer. Asking a photographer for advice
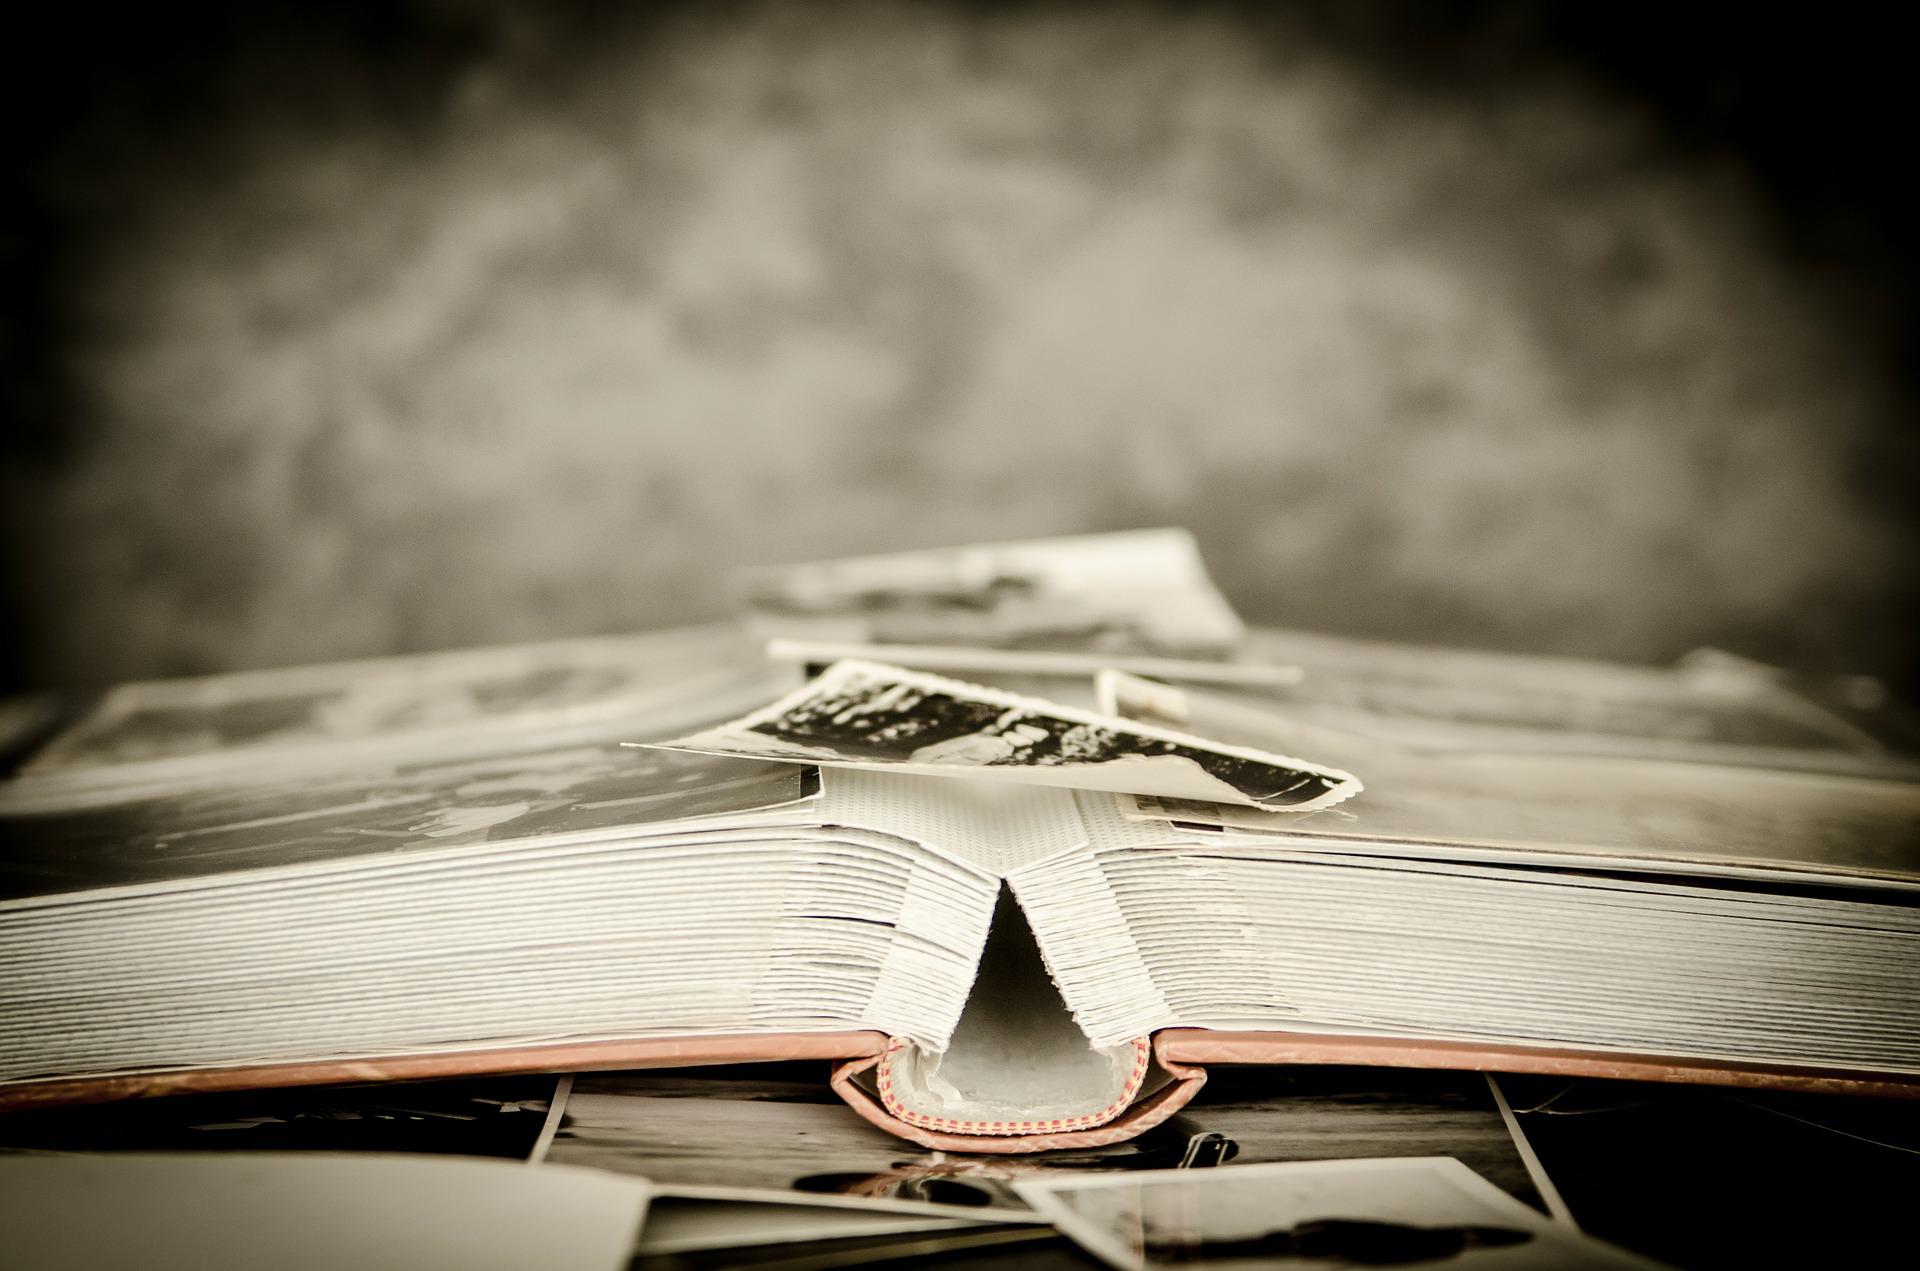
Though the photo album has been around for centuries in one form or another, it has undergone many changes and