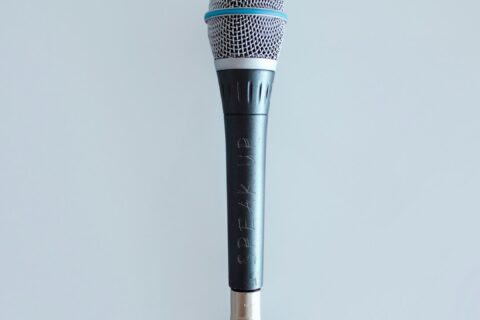
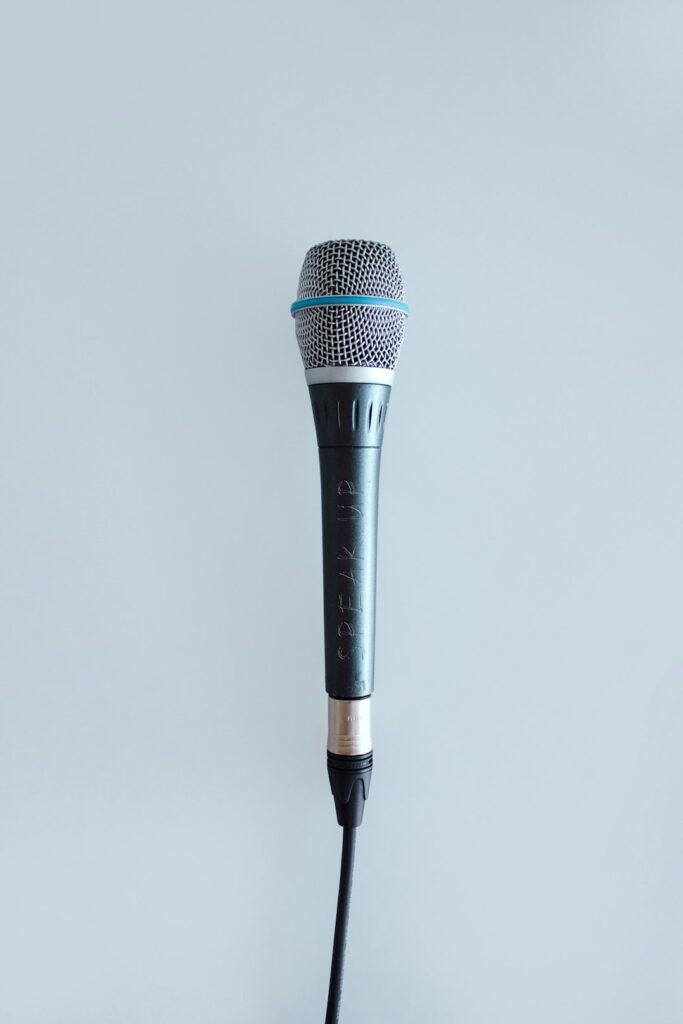

A square cube is usually a practical starting point for a handheld interview microphone. Its four outward faces can be seen from several camera positions, and the central opening accommodates many familiar microphone bodies. The dimensions should be based on the actual mic rather than on a generic cube template. If the opening is too loose, the flag can rotate during a question. If it is too tight, a producer may struggle to fit or remove it without forcing the material. Teams comparing microphone flags australia should provide the microphone model, mounting position, artwork and expected viewing distance before approving a design.
The right shape also depends on the setting. A university media crew covering an open day might use a handheld microphone while moving between outdoor demonstrations, then switch to a desk microphone for recorded interviews. A broad event flag can read clearly in a busy public space, whereas a smaller cube may sit more neatly on a studio mount. Camera height and lens choice affect the result. A flag that fills the frame attractively in a close shot may look insignificant in a wide shot. Before artwork is finalised, check a typical camera view and note how much of the microphone will actually appear on screen.
Branding does not improve the recorded sound. The flag sits outside the microphone’s acoustic system, so it does not change the pickup pattern or frequency response. A cardioid microphone generally favours sound arriving from the front, which means the active side still needs to face the presenter correctly. Frequency response concerns how the microphone handles different parts of the audible range, including lower voices and sharper consonants. The flag should not encourage a presenter to grip the microphone over its intended handling area, cover a vent or rotate the body away from the speaker simply to keep a logo facing the camera.
Outdoor assignments bring mechanical and weather-related concerns that a product photograph cannot show. Movement through the handle or support can create handling noise, while air turbulence across the capsule can produce wind noise. A flag should leave room for the microphone’s normal windscreen and should not scrape or rattle against the body. A reporter working beside a sports oval may need to reposition the mic repeatedly as the wind changes, so a secure fit matters more than a glossy surface. Check the flag by gently moving the microphone before filming. Any clicking, looseness or contact with the windscreen is a reason to adjust the fit.
Artwork preparation is a production step, not an afterthought. Small lettering, fine rules and similar tones can disappear on a phone display or under bright venue lighting. Vector artwork normally gives the manufacturer cleaner material for resizing, but the final appearance still depends on the print process and the surface. Ask for a proof showing every visible face, including seams and any areas hidden by the microphone. A staff member should check the file against the approved logo before production. That simple comparison often catches a reversed mark, an incorrect colour or text placed too close to an edge. For teams arranging branded microphone flags for filming, a full-face proof is more useful than a single front-view image.
A regional broadcaster may carry one handheld microphone through farmers markets, press conferences and community festivals. Its flag needs to be recognisable without making the microphone appear oversized in a presenter shot. A restrained logo on contrasting faces may work better than filling every side with contact details. An event organiser filming a stage programme faces a different problem: the microphone may appear briefly and at a greater distance, so stronger identification and larger artwork could be justified. In both cases, the production team should record the microphone model, the intended mount, normal camera distance and likely movement before requesting a quotation. Ordering from a product photograph alone leaves too many fit questions unanswered.
A sensible approval routine starts with a measurement of the microphone body and any unusual clip or mount. Keep the artwork file, colour references and final proof together with the production notes, then test the finished flag on the actual microphone under representative lighting. Film a short close shot and a wider shot, turn the mic as a presenter would, and review the footage on the device used by the audience if possible. Check that the opening does not obstruct controls, that the flag stays square during handling and that the logo remains readable beside other on-screen marks. A well-fitted flag will not repair poor placement or weak wind protection, but it can make a mobile crew look organised and identify the broadcaster quickly.